Van's RV-9A in Aurora

The Big Picture

The Big Picture
Flying! 8/28/2011

Sunday, July 31, 2011

3 hrs
Finish installing leading edge light lenses.
Install fuel line between gascolator and fuel flow meter.
Torque prop. Check tracking. OK to 1/32". Safety wire prop.


Spent a bit of time helping Wayne. Redid the pax phone jack connections, not happy with the first pass. Started wiring up the Grand Rapids connectors. His radios and audio are all working now.
6 hrs for July 30.
Not making much progress. Put up the scales, done with weight and balance. Mailed off the program letter to get on the schedule for inspection.
Wheeled the plane outside and took pictures, with the cowling and wingtips in place.


Rolled it back in and started taking it apart to finish up and get ready for inspection.


Finally installed the experimental graphic. It looks great!

Spent a lot of time installing the wing root fairings and doing a trial fit of the upper gear leg fairing.
Installed the aft and main seat belt points.

Saturday, July 30, 2011

Weight and Balance

6 hrs
Did the Weight and Balance today.
Drove to Georgetown and picked up the EAA 187 scales.


Got a race car you need to weigh?

Made up a set of tare boards for leveling
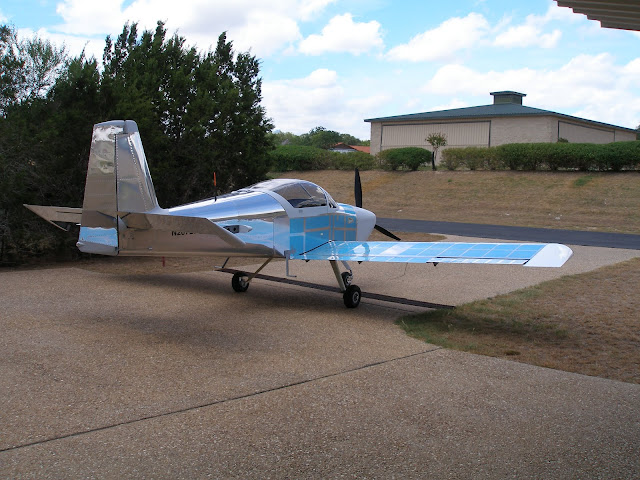
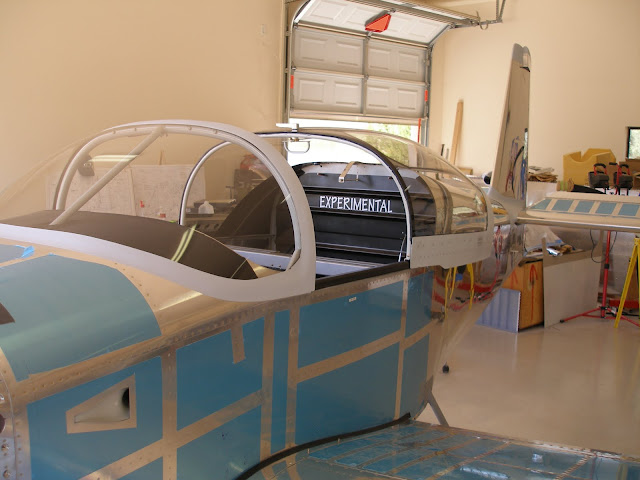
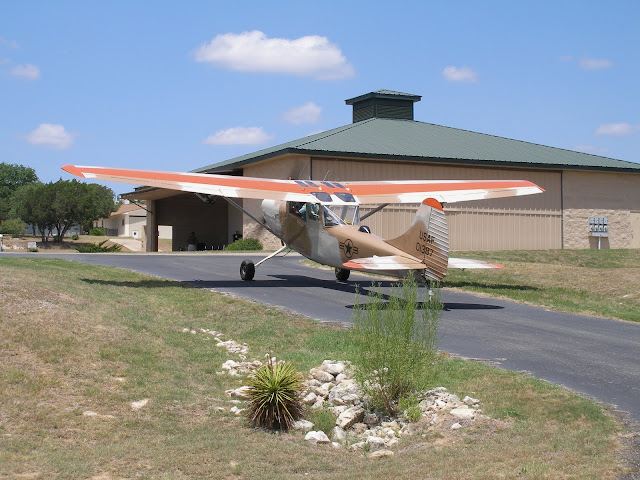
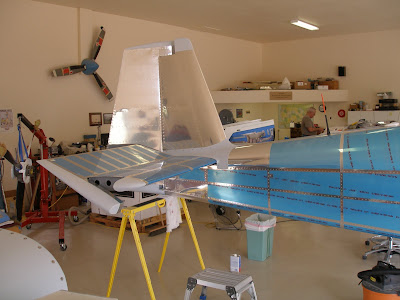
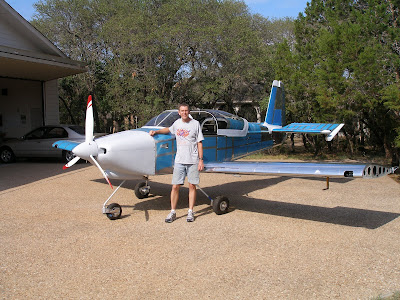
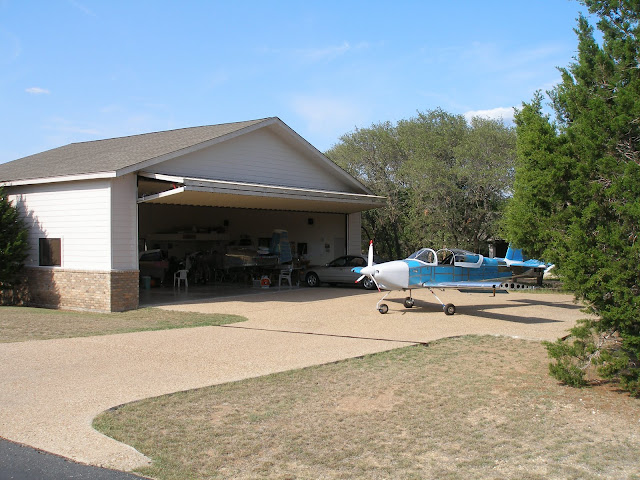
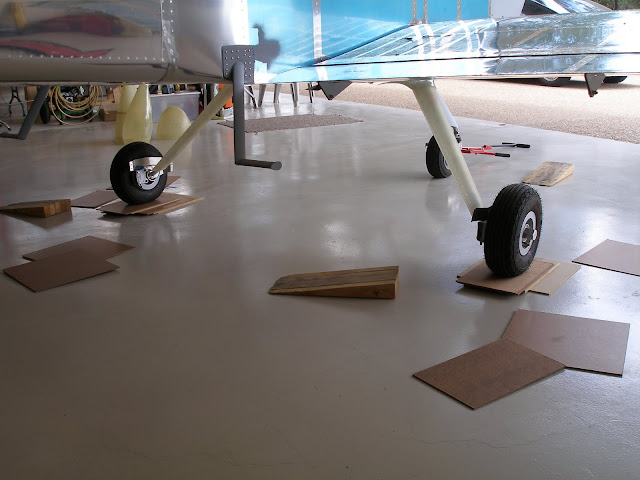
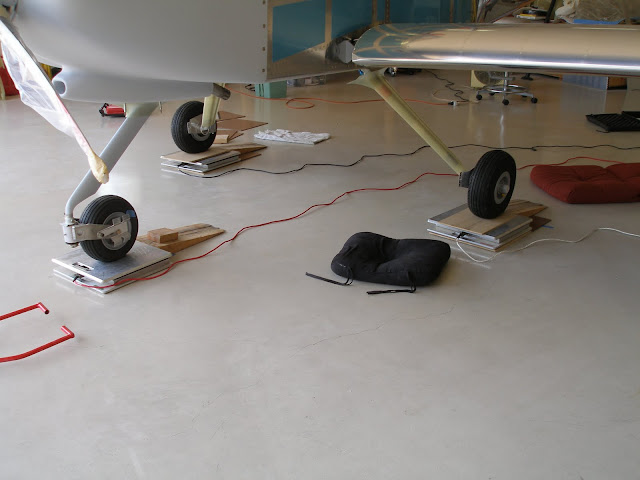
First leveled the plane. Here it is with the boards arranged to get the plane level.


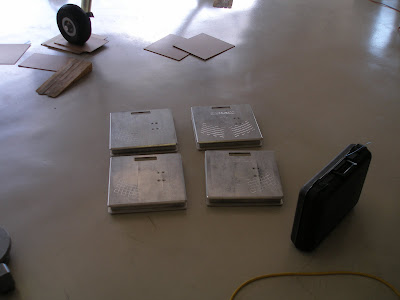
Then I checked the calibration of the scales. I used 101 pounds of weight plus my own weight. The bar bell is supposed to be 25, but I got a bargain because 5 scales think it weighs 26. The plates are all right on 25. All four scales had the same numbers as each weight plus my own were added. I think that's accurate enough, although that isn't quite the range needed for the main gear load.


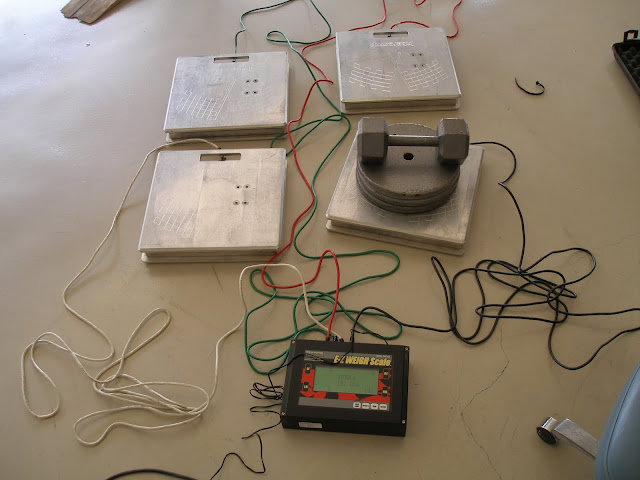
Calibration - 101 is the correct number

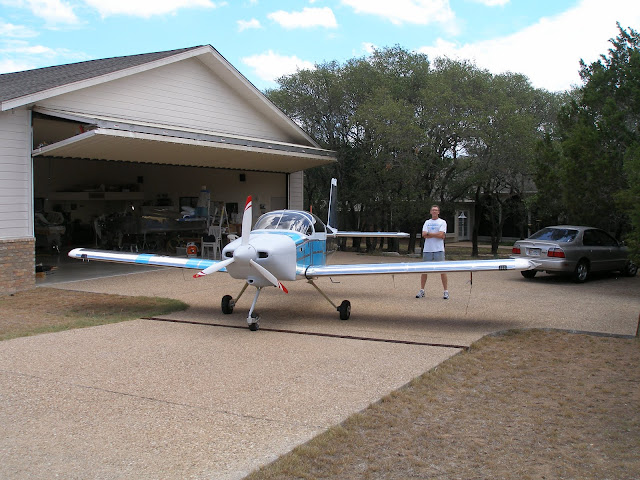
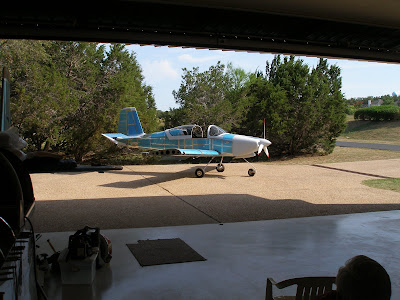
Then I rolled the plane up the ramps. I didn't have enough traction to pull it up, so I got three chocks and moved each wheel up by hand about a centimeter at a time. I have blisters and sore legs from making dozens of laps around the plane, and getting up and down 3 times per lap.


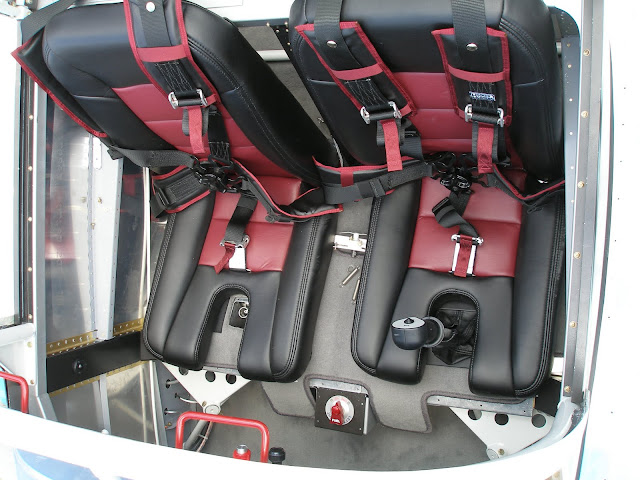
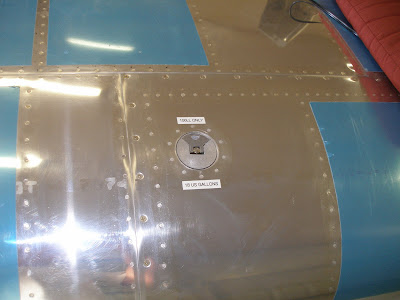
Then started taking measurements, remembering to close the canopy. Measured with bare airframe, 1056 lbs, 6 lbs over my guess. Then added seats, seat belts, and wheel fairings. The total for all this is 1072, quite a respectable number. The usefull load is then 678 pounds, which allows for full fuel, 100 lbs baggage, and two standard weight people.


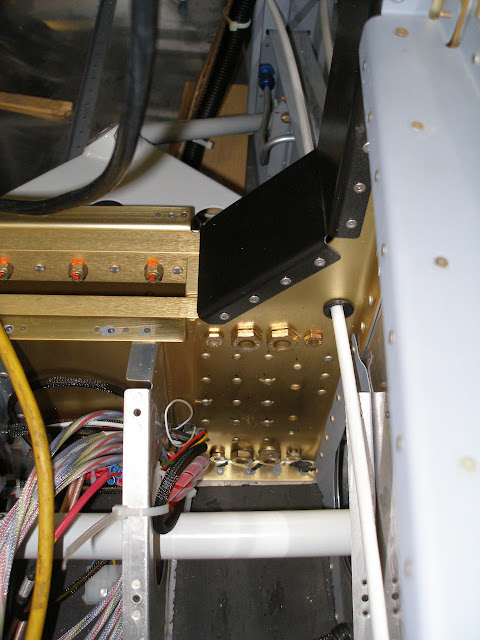
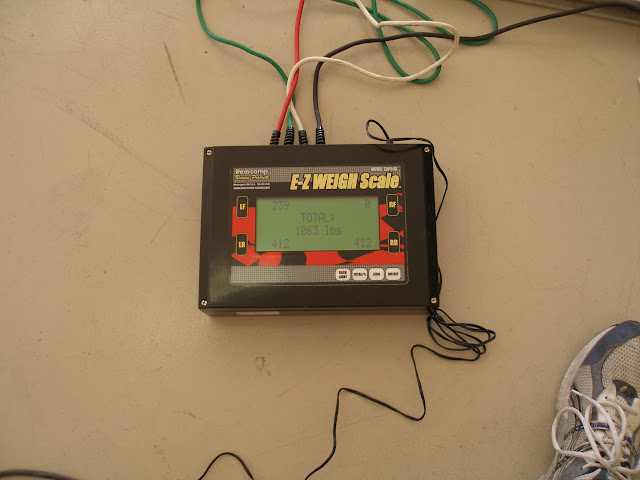
This is weight without wheel fairings.

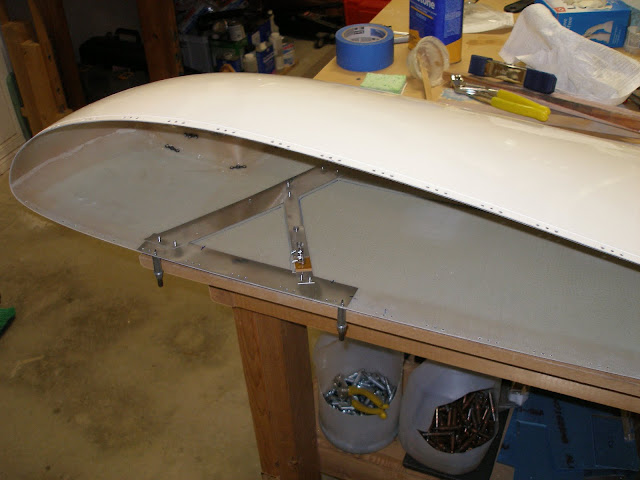
Later I came back and measured gear leg stations from the datum, which is 70" from the wing leading edge. First I had to accurately lay out the datum line, then measuring from that was straight forward.

Heres the data:
Nose Wheel 242 lbs @ 33.25"
Right Main 415 lbs @ 91.0"
Left Main 415 lbs @ 91.0"

I've borrowed spreadsheets from this search on VAF and modified them for N207LT.
Here is one calculator, and here is a scenario calculator.
The result is a perfect situation. By myself I am usually flying in utility category, and with a standard weight pax I can't load it out of CG!

Tuesday, July 26, 2011

17000 Rivets

2 hrs 52 rivets
Finished riveting the wingtip nutplates. Started fitting the wingtips, and connecting the nav/strobes. Still a couple of details to finish up with wire routing, but the wing tips are done until painting.


Fit the landing light covers. Tried out the nav/strobe and landing lights. All seems to be in good shape.

Monday, July 25, 2011

3 hrs, 90 rivets
Finished countersinking the wingtips. Started riveting nutplates on. Messed up a couple of the rivets, will need to be drilled out.
Got the Bob Archer nav antenna bases riveted in, and used a simple fiberglass layup to secure the tips. Also countersunk for and installed the screws for wire routing.
I only have one nav receiver, so I only need one antenna But I always wanted an SL-30 as a second radio. Maybe I'll upgrade the SL-40 one day, and then I'll have two nav radios. These NAV receivers pick up a signal from a ground based station called a VOR. The receivers let me know what direction I am from that ground based VOR. That establishes a line of position, and provides a line I can use to navigate to or from the ground station. With two recievers, I can triangulate and get a fix - I would know right where I am. The country is covered with these VORs, and the network was mature 50 years ago. The sad part is the FAA is taking them out of service, and replacing the navigation routes and instrument approaches with GPS equivalents.


You might think that GPS would be a far superior replacement for the VORs, so why does it matter that the FAA is decommissioning VORs? To the first order, you're absolutely right. GPS is far more accurate, and not subject to range restrictions that VORs are. BUT - the military can and does knock out the GPS signals. Oh, and the FCC, in their infinite wisdom, is on the verge of approving a broadband wireless internet that overwhelms GPS signals and effectively jams GPS over large areas. Once this is deployed, GPS will be unreliable. Suddenly those crusty old VORs look pretty good.
Now all I need is a DME antenna.

Sunday, July 24, 2011

7 hrs, 80 rivets
A long, brutally hot day working with fiberglass.
Countersink wingtips for 931 ribs.
Rivet 931 and 916 ribs to wing tips. They turned out pretty good, except for the underside of one, I guess the epoxy was on too thick and it didn't completely squeeze out.
Drill wingtips to #33. Deburr wings, dimple.
Drill wingtips for nutplates.
Start installing Archer nav antennas.
Countersink #40 nutplate holes.
For Saturday,
4 hrs
Drill and cement 931 rib to wing tips
Update Dynons.
Strip more blue plastic
Install baggage area carpet.
Install and set cotter pins on forward end of rudder cables.

Saturday, July 23, 2011

Couldn't post last night, the internet connection was on break.
2 hrs, Start fitting 931 ribs, but didn't have fluting pliers so had to defer.


Countersink for the 916 ribs, they're ready to rivet, but I'll wait till the 931's are ready to go.
Stripped more blue plastic, for such a simple task, it sure takes a long time.


Required placards in place on wings

Friday, July 22, 2011

2 hrs last night and Wednesday working on wing tips. Got the W916 rib prepped and drilled in place. Tonight it will be riveted on, and then I'll start on the 931 ribs.


Before final trimming


After final trimming.


916 drilled and clecoed


Monday, July 18, 2011

2 hrs
Finished fitting the wing tips and then drilled them in place. The plane looks complete now. Still another week of work, but the first flight is approaching rapidly.

Sunday, July 17, 2011

5 hrs
Finished installing wing access covers. Installed flap actuator covers. Installed fuel selector. Installed right side N number and no-step placard. Updated Dynon database and tested radios.
Started on wing tips.

Helped Wayne with his EIS connnections. He was able to power up his first electronics today.


Mike C. has this nice Bird Dog for sale:

Saturday, July 16, 2011

Saturday, July 16, 7 hrs
Started removing plastic, takes a while to clean up. The red dye seems to etch the aluminium a bit. It didn't do that where I stripped rivet lines during construction.


Installed the N number on the left side.
Finished the roll servo details, installed safety wire, and tightened down the servo wiring connector shell.
Finally put in the 430W, and tested the heated pitot.
Started installing the wing access covers, including the comm antennas.

Friday, July 15, 2011

Transponder, Pitot/Static Checks

1 hr
Only about 30 minutes of actual work today. Installed an Adel clamp to secure the roll servo wiring bundle. This turned out to be relatively easy, which was a nice change.
The big news for today is that I have nice vinyl lettering for the EXPERIMENTAL placard, the tail numbers, and "NO STEP" for the flaps.
And the Taylor Avionics shop was here today for another job, so they checked my transponder and pitot/static systems. Passed with flying colors!

Of course I put in time on Thursday and Wednesday.
Thursday, 22 rivets attach the left elevator tip fairing. Also changed out AN3 bolts for the right aileron bellcrank and roll servo. The ones I used way back when were just too short. Tightened the roll servo control arm jam nuts.
Installed the pilot side Skyview and updated the software on both units.

On Wednesday, replaced the transponder TNC connector. Applied a bit more spiral wrap on a main wiring bundle to prevent chafing against the transponder DB9 connector
Tightened up the right side aileron jam nuts and control column bolts.

Tuesday, July 12, 2011

2 hrs, 22 rivets
Attached the right elevator tip. Figured out I have the two on the wrong side, after riveting the left tip to the right side. Doesn't appear to make much difference.
Drilled a couple more holes in the seat ribs to improve wire routing. A few were rubbing on the pushrods just a little, and moved them to gain more clearance. Using zip ties to anchor all the wires to prevent chafing.

Got in about 3 hrs yesterday (Monday) after getting back from Dallas, fitting and installing the top baggage bulkhead and the thousand screws that hold it on. Then got back to adjuststing the ailerons, and finishing the left side control rod end install with the little tiny washers. Applied torque seal. Figured out exactly what to do with the right side aileron bell crank, just needs an adel clamp and safety wire.

Snuck in Sunday before driving to Dallas putting on the canopy handles. 8 rivets for that.

Monday, July 11, 2011

Transition Training

Drove up to Dallas yesterday, Midlothian actually, and did transition training with Alex De Dominicis. I started out a bit rough, but after a lot of landings Alex seemed pleased with my progress. Now I have the training required for insurance purposes. The training was in Alex's RV-7A, which has a O360 and a constant speed prop. There were some things we just couldn't simulate properly, but the landings were good practice. If I do the first flight more than a month from now, I probably need to get a few more landings in.


Alex


We did all the pattern work at Midway in Midlothian (KJWY). While refueling we talked with Dave Wheeler and Aubrey Price of Airborne Imaging, Inc.. They operated a pair of DC-3's as platforms for testing stuff they couldn't talk about. But they could fly imaging equipment, racks of computers and data acquistion, and up to nine engineers/operators for test flights. Cool stuff.


Dave Wheeler


DC-3 Grin!


This might be my only DC-3 time, although I'd love to fly one of these things.

Thanks for taking the time to talk with me Dave!

Saturday, July 9, 2011

6 hrs
Install cowling top and bottom.
Install empennage access covers and fairings.
Tighten up two screws for the 430 GPS antenna.
Install flaps. Install flap actuator side covers. Vaccuum interior.
Start removing plastic. Corrosion found on left wing leading edge.
Install lower baggage bulkhead. Trim upper bulkhead to fit canopy adjustment screw.

Took some pictures.


Friday, July 8, 2011

1.5 hrs tonight
Finally felt like I got something done.
Primed a few more parts on Wednesday, including the last empennage parts.
Yesterday was just frustrating again, tried to adjust the elevator pushrods, but didn't make much progress.

Today finally got the elevator adjusted and all the attach bolts installed properly, jam nuts tightened, etc.

Also replaced the 430 GPS antenna TNC connector that I had installed incorrectly.

Tuesday, July 5, 2011

1.5 hrs
Had three tasks lined up for what was supposed to be an easy, fun, and productive work session. It was not to be.
I did manage to get the DB9 connector installed for the roll servo wiring harness. But this involved nearly having the pins ready to go, undoing them to install new shrink wrap on the harness, lining up the 7 pins again, and fighting with one of them that didn't want to seat. There went 30 minutes, should have been 5.
Then it's time to plug the connector onto the servo. Ooops, can't see or reach the connector on the servo, have to fight it from underneath the wing, one handed, entirely by feel. After way too long got it plugged in. Ooops, the standard connector shells are too long, the harness can contact the top skin.
So the connector is plugged in, but now there is a wire routing/securing task, in an area with very limited visibility and access. Oh, and I need to safety wire the servo bolts. One task done, at least two more hours of work to go.

Then I wanted to adjust the elevator pushrod to tune the elevator travel. Simple just loosen the jam nuts. Except I can't loosen the aft most jam nut, since I can't get a wrench on the rod end bearing. Now the whole push rod needs to come out.

I also wanted to replace the garmin antenna TNC connector, but decided today was just a bad day, time to call it quits.

Monday, July 4, 2011

8 hrs.
Hookup pitot and angle of attack lines.
Attach landing light and nav/strobe circuits.
Attach pitot heat circuit.
Route autopilot roll servo wiring.
Attach aileron pushrods, start final adjustments.

Sunday, July 3, 2011

4 hours
Happy Birthday to Shannon!

More sanding on fairings.
Make and install missing aileron spacer (right side).
Install last wing attach bolts.
Torque aft wing spar bolts.
Install and safety wire tank attach bracket bolts.
Install fuel guage senders.
Attach vent and fuel pickup lines.
Install screws for lower fuselage/wing skins.

Saturday, July 2, 2011

7 hrs, 4 rivets
A painful day. My elbows are completely bruised from yesterday, and I kept hitting them again today. Wedged under the panel, fighting with nuts you can't see or reach in a 95 degree hangar is no fun at all. But the wings are on for good!

Finished installing main wing attach bolts. Torque to final settings.
A couple of notes that aren't mentioned in the usual list. For an A model RV, the gear leg weldment is in the way. So the bottom bolts are a major PITA to get started and to tighten. Torque must be applied from the bolt head on the aft side, there is absolutely no way to get a wrench on the nuts to tighten them.
The first note is to buy a 5/8" and 7/16" open end wrench and start grinding on them. Narrow the shoulders of the open ends so that there are thin fingers to hold the nut in place. You may have to cut the other end off the 5/8". I used one already cut.


Second tip - torque the big bolts on the bottom before putting nuts on the little ones. Otherwise you can't get a wrench on the big ones, even the new ones you just ground up.
Getting the bolts in is relatively easy (just don't put the bottom ones in too far before getting the nuts threaded on). For this reason, using the freezer, dry ice, etc. isn't really necessary. They will warm up to ambient before they're in too far, and moisture will condense on them. Just lube em up, wack em with a hard plastic hammer until you can get the rivet gun on them. The last inch or so will require painful, one-click-at-a-time ratcheting. Getting the nuts threaded on is a challenge. I had access to mongo cotton forceps, these were very useful.

Applied torque seal to empennage and wing bolts.
Replaced oil pressure led.
Attached right aileron.
Set last rivets in fuselage/armrest/center bulkhead.

I love being at the airport. Here's a view from the taxiway.


Lakeway has this pack of cubs in residence,


and attracts all sorts of traffic.

Friday, July 1, 2011

2 hrs on Thursday, June 30
Happy Birthday to Mimi!

Fit the right wing and then started installing the wing spar bolts. Got two done each side. The wings are on to stay!


For Friday, 5 hrs
Sand on fairings for an hour or so.
Continue installing wing attach hardware.
Fit left aileron.