

.9 hrs, 34 rivets

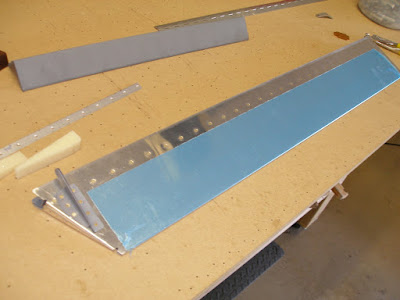
Trim tab parts ready for assembly.
Rivet spar and trim tab horns to lower trim tab skin. Used the longeron yoke, and this was relatively easy, but tedious. Thought about back riveting this before doing the bend, but decided that might not work out.
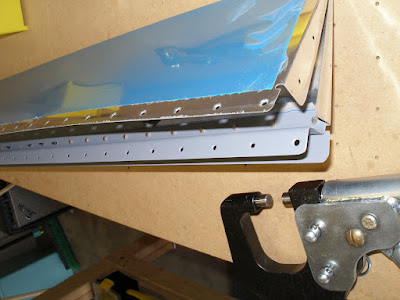
Lower part of trim tab rivet complete.
Did a preliminary layout of the trim tab hinge for cutting.
Ordered the proseal for finishing the elevator trailing edges.
Monday
2 hrs
Bend trim tab trailing edge to final shape.
Bend trim tab ends. The instructions say to rivet the trim tab horn to the skin before this step. Maybe there's a good reason that I never discovered, but it seems crazy. It was much easier not to do this, and it seems to have worked out for me. Another case where the longeron yoke provides a lot of utility.


Clean and prime trim tab skin, spar, horns.
Sunday
2 hrs
Match drill upper skin to trim tab spar.
Dimple skin, trim tab horns, lower spar. 
Countersink upper spar.

Make bending press for trailing edge. Had Granger plane a couple of 2x4's nice and flat. His brother has a complete woodshop. Used hinges to join 'em together. Viola, one each hinged bending jig.
Make bending clamp for trim tab ends. Made these from a piece of hardwood I've had collecting dust for about 15 years. It's very dense and worked great for the intended task. Drilled holes in it to match the dimples in the lower skin, to prevent deformation under the intense clamping pressures required. It might have been better to bend the ends before dimpling, but that would have made many things more complicated.

A practice piece with a nice clean bend.
Mask trim tab skin for priming.
Saturday
.7 hrs
Modify trim tab horns.
Match drill, debur trim tab horns.

Match drill, debur bottom of spar, trim tab skin.
